
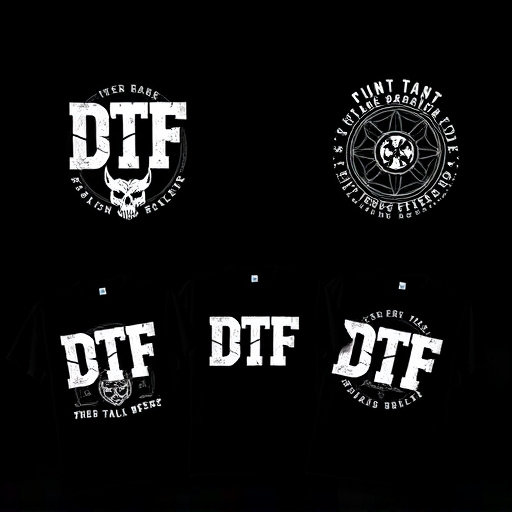

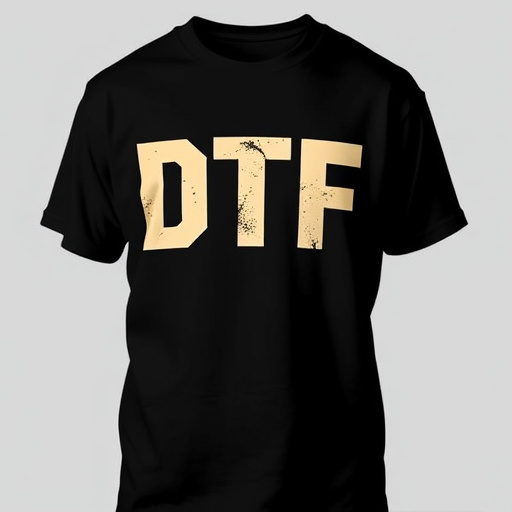
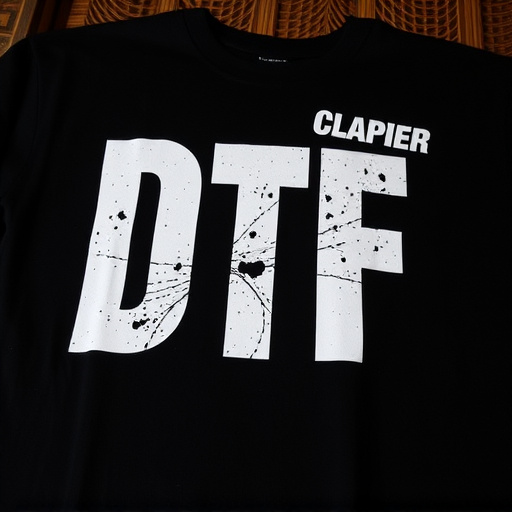
Setting up a DTF (Direct-to-Fabric) Transfer Printer involves acquiring suitable equipment and professional-grade materials for precise color reproduction. After assembling the printer and calibrating it, load transfer paper and apply ink accurately. Place fabric, secure it, and use a heat press machine to fuse DTF logo transfers. Maintain optimal performance through consistent calibration, regular cleaning, and fine-tuning heat press settings based on material type and design complexity.
“Unleash your creativity with the power of DTF (Direct to Film) transfer printing! This cutting-edge technology allows you to produce vibrant, high-quality designs on a variety of surfaces. In this comprehensive guide, we’ll walk you through setting up an efficient DTF transfer printer. From understanding the basics and gathering essential equipment to optimizing print quality and maintaining your investment, we’ve got you covered. Master the art of DTF printing and take your projects to the next level.”
- Understanding DTF Transfer Printing: Essential Equipment and Materials
- Step-by-Step Guide to Efficient Printer Setup
- Optimizing Print Quality and Maintenance Tips for Longevity
Understanding DTF Transfer Printing: Essential Equipment and Materials

Setting up a DTF (Direct to Film) Transfer Printer efficiently requires an understanding of the technology and the right equipment. DTF transfer printing is a cost-effective method for producing high-quality prints on various materials, including textiles and plastics. The process involves several key components: a printer, DTF film, ink, and a curing system.
To ensure optimal DTF print quality, it’s crucial to invest in professional-grade equipment. This includes a reliable printer capable of precise color reproduction and fine detail, as well as DTF film designed for your specific application. The DTF curing process is also vital; proper curing ensures that the ink permanently bonds to the substrate, resulting in durable prints. Having the right materials and understanding the curing requirements are essential steps in setting up a successful DTF transfer printing system.
Step-by-Step Guide to Efficient Printer Setup
Setting up a DTF (Direct-to-Fabric) Transfer Printer efficiently is a straightforward process that can be completed in just a few steps. First, ensure your workspace is organized and clear, allowing for easy access to all necessary tools and materials. Gather your printer, suitable fabric, heat press machine, transfer paper, ink, and cleaning supplies. Next, unbox and assemble your DTF printer according to the manufacturer’s instructions, paying close attention to any specific safety guidelines provided. Once assembled, calibrate your printer using the recommended settings for optimal print quality.
Now, load the transfer paper into the printer, ensuring it aligns perfectly with the printing area. Apply a thin layer of ink onto the transfer paper using a precision tool or roller, following the product instructions for ideal coverage. Place the fabric on a flat surface and secure it in position. Use your heat press machine to apply heat and pressure for the recommended duration, allowing the DTF logo transfers to fuse seamlessly into the fabric. After cooling, inspect your printed shirts for any imperfections, ensuring crisp, clear designs without smudges or bubbles. Regular cleaning and maintenance will help keep your DTF printer running smoothly and cost-effectively.
Optimizing Print Quality and Maintenance Tips for Longevity
To ensure optimal print quality with your DTF Transfer Printer and prolong its lifespan, several strategies can be employed. First, maintain consistent calibration and regular cleaning to prevent buildup of residual ink or debris. This meticulous care is crucial for achieving vibrant designs on a variety of materials, from blank t-shirts to custom apparel.
Moreover, understanding the specific heat press settings for your DTF printer is essential. Fine-tuning temperature and pressure based on the material type and design complexity can significantly reduce wear and tear. By prioritizing these maintenance tips, you’ll not only maintain top print quality but also extend the lifespan of your DTF Transfer Printer, allowing for the continued creation of striking, durable vibrant designs.
Setting up a DTF (Direct to Fabric) transfer printer efficiently is a straightforward process that can unlock the potential for high-quality, custom fabric printing. By understanding the essential equipment and materials required, as outlined in this guide, you’re well-prepared to begin. Following the step-by-step setup instructions ensures optimal performance and consistency. Regular maintenance and quality optimization tips will also contribute to the longevity of your printer, making it a reliable tool for producing vibrant, lasting fabric designs. With these strategies in place, you can confidently dive into the world of DTF transfer printing.